Next on the list now that both sides are done was the worst job.
The roof needs painting and around the windscreen and in front of it.
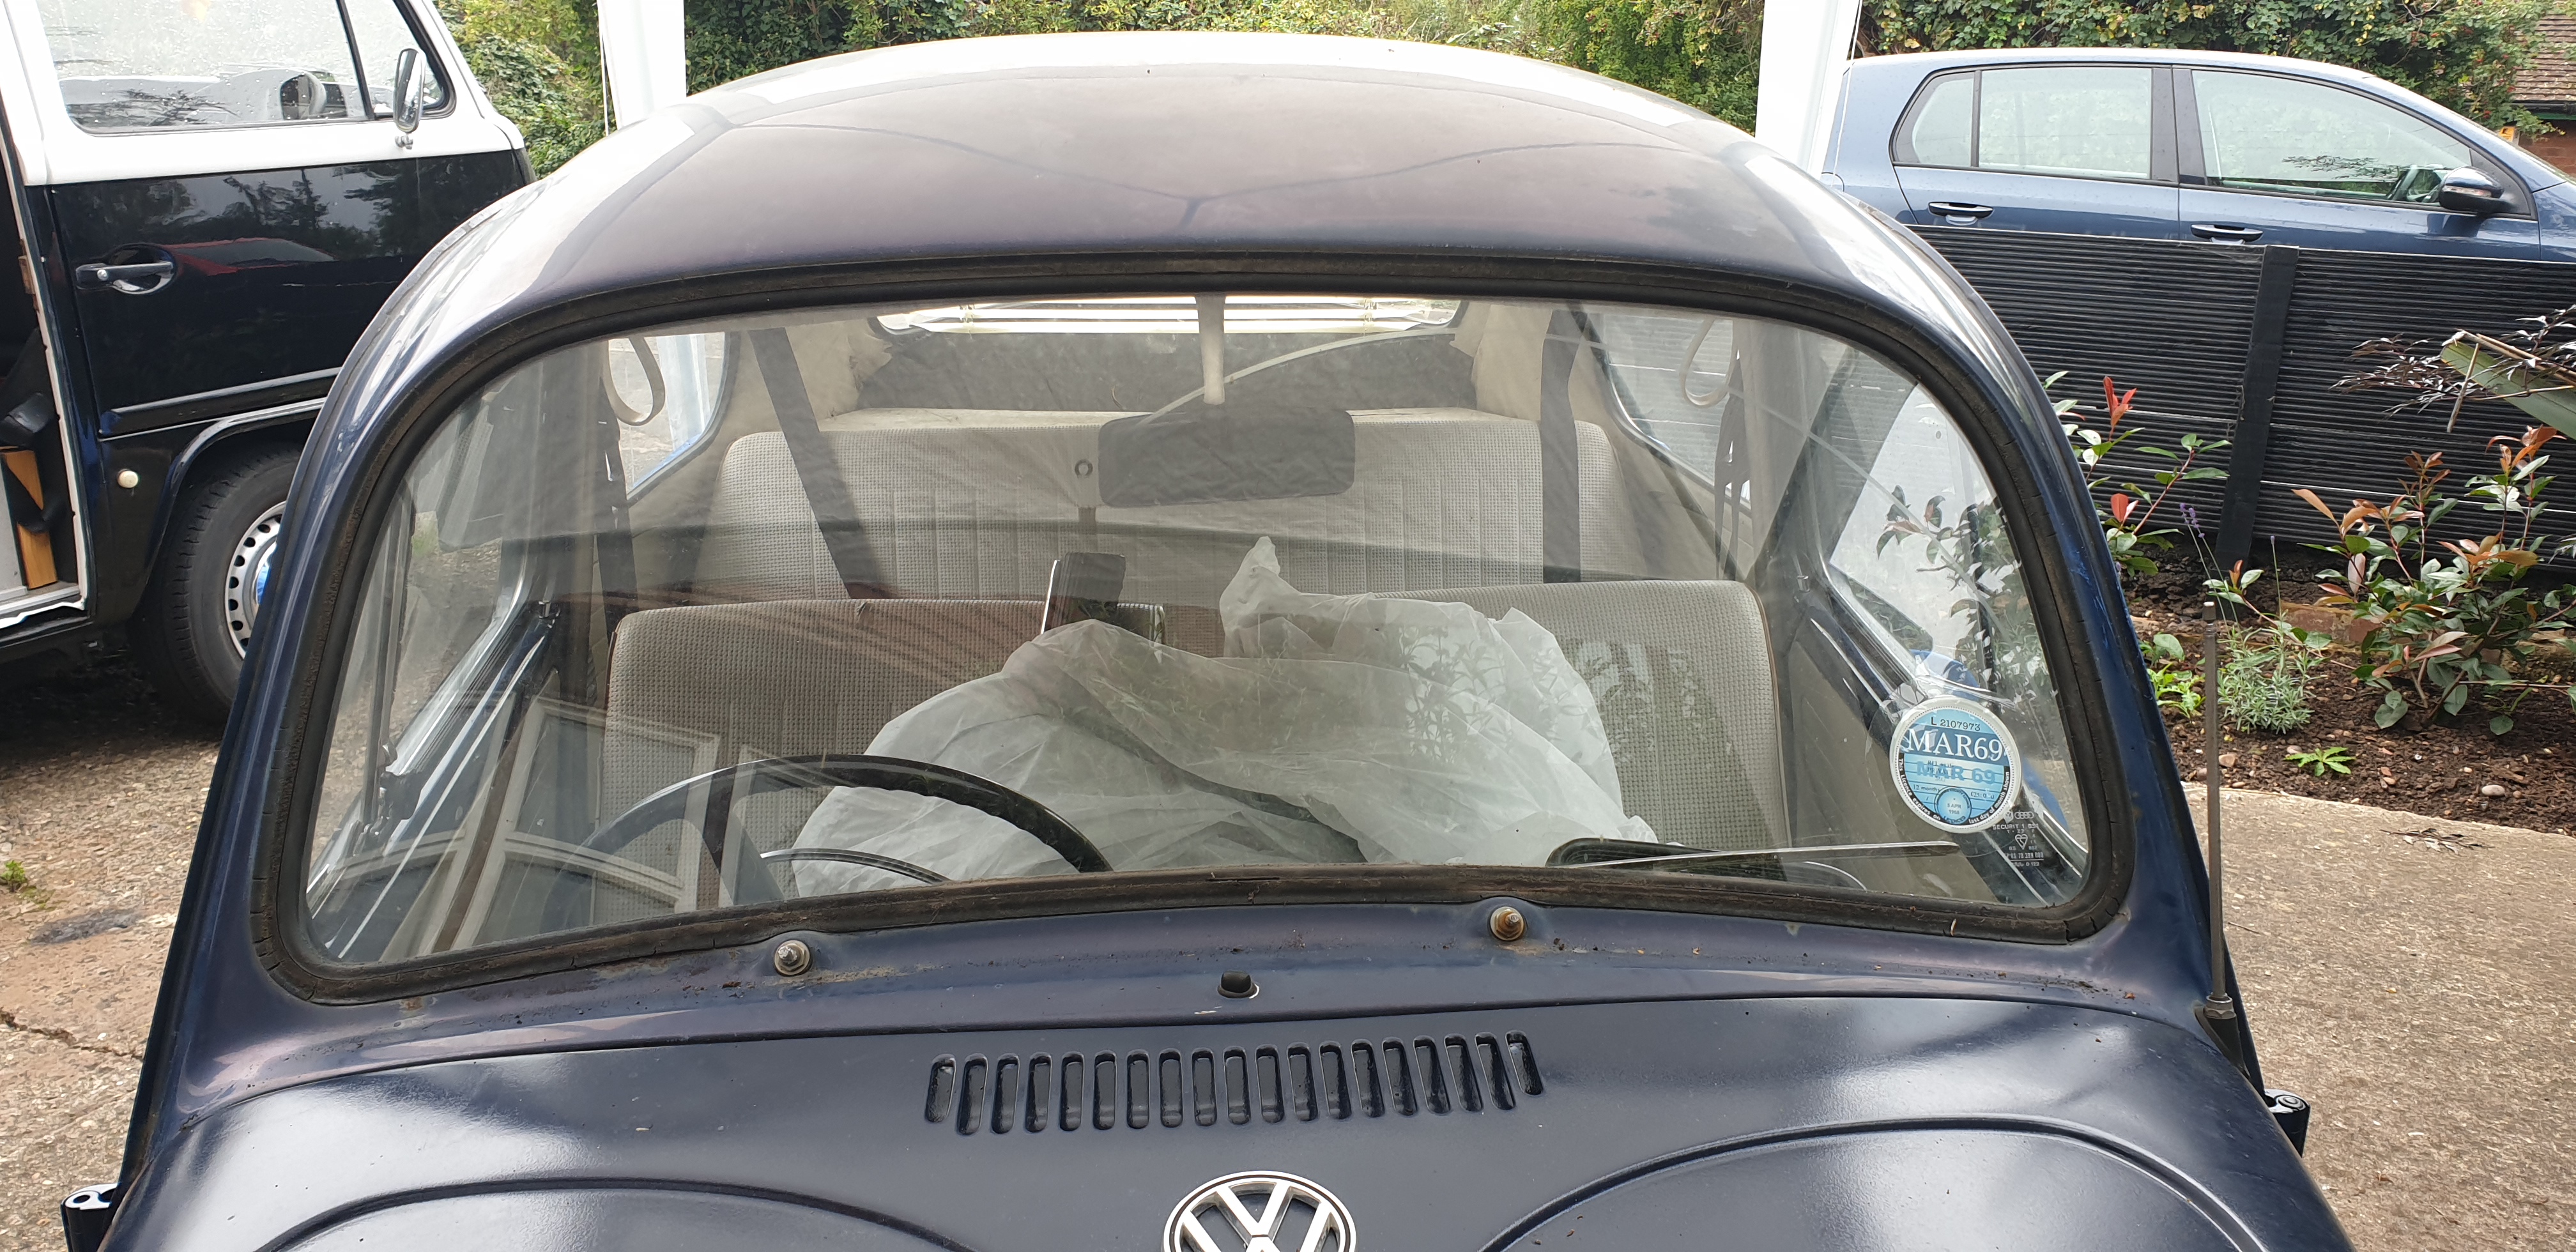
So the windscreen has to come out. Windscreen seal has been in bad condition for ever and looks original one.
Party tent is in place. Good few days of dry weather ahead
Seal was in bad condition and also a source of a leak in the passenger side.
Lots of thinners and wiping off Acrylic paint and barrier coats applied by previous owners
Some of the areas which the previous owners decided to cover with rattle can acrylic paint
After a wipe and light sand you can see some areas around the rear window and also where an old roof rack was fitted had some work done before and why it was coated in Acrylic paint.
Original paint was flat and easy to sand down.
Now the paintwork was ready on the roof it was time to remove the window. Cut around the old rubber.
Some surface rust but no holes or major issues
Sanded back and cleaned up. Applied a good coating of rust convertor.
Found a parking ticket from 1994 -
Cowgate in Peterborough. 40p parking was cheap back then!
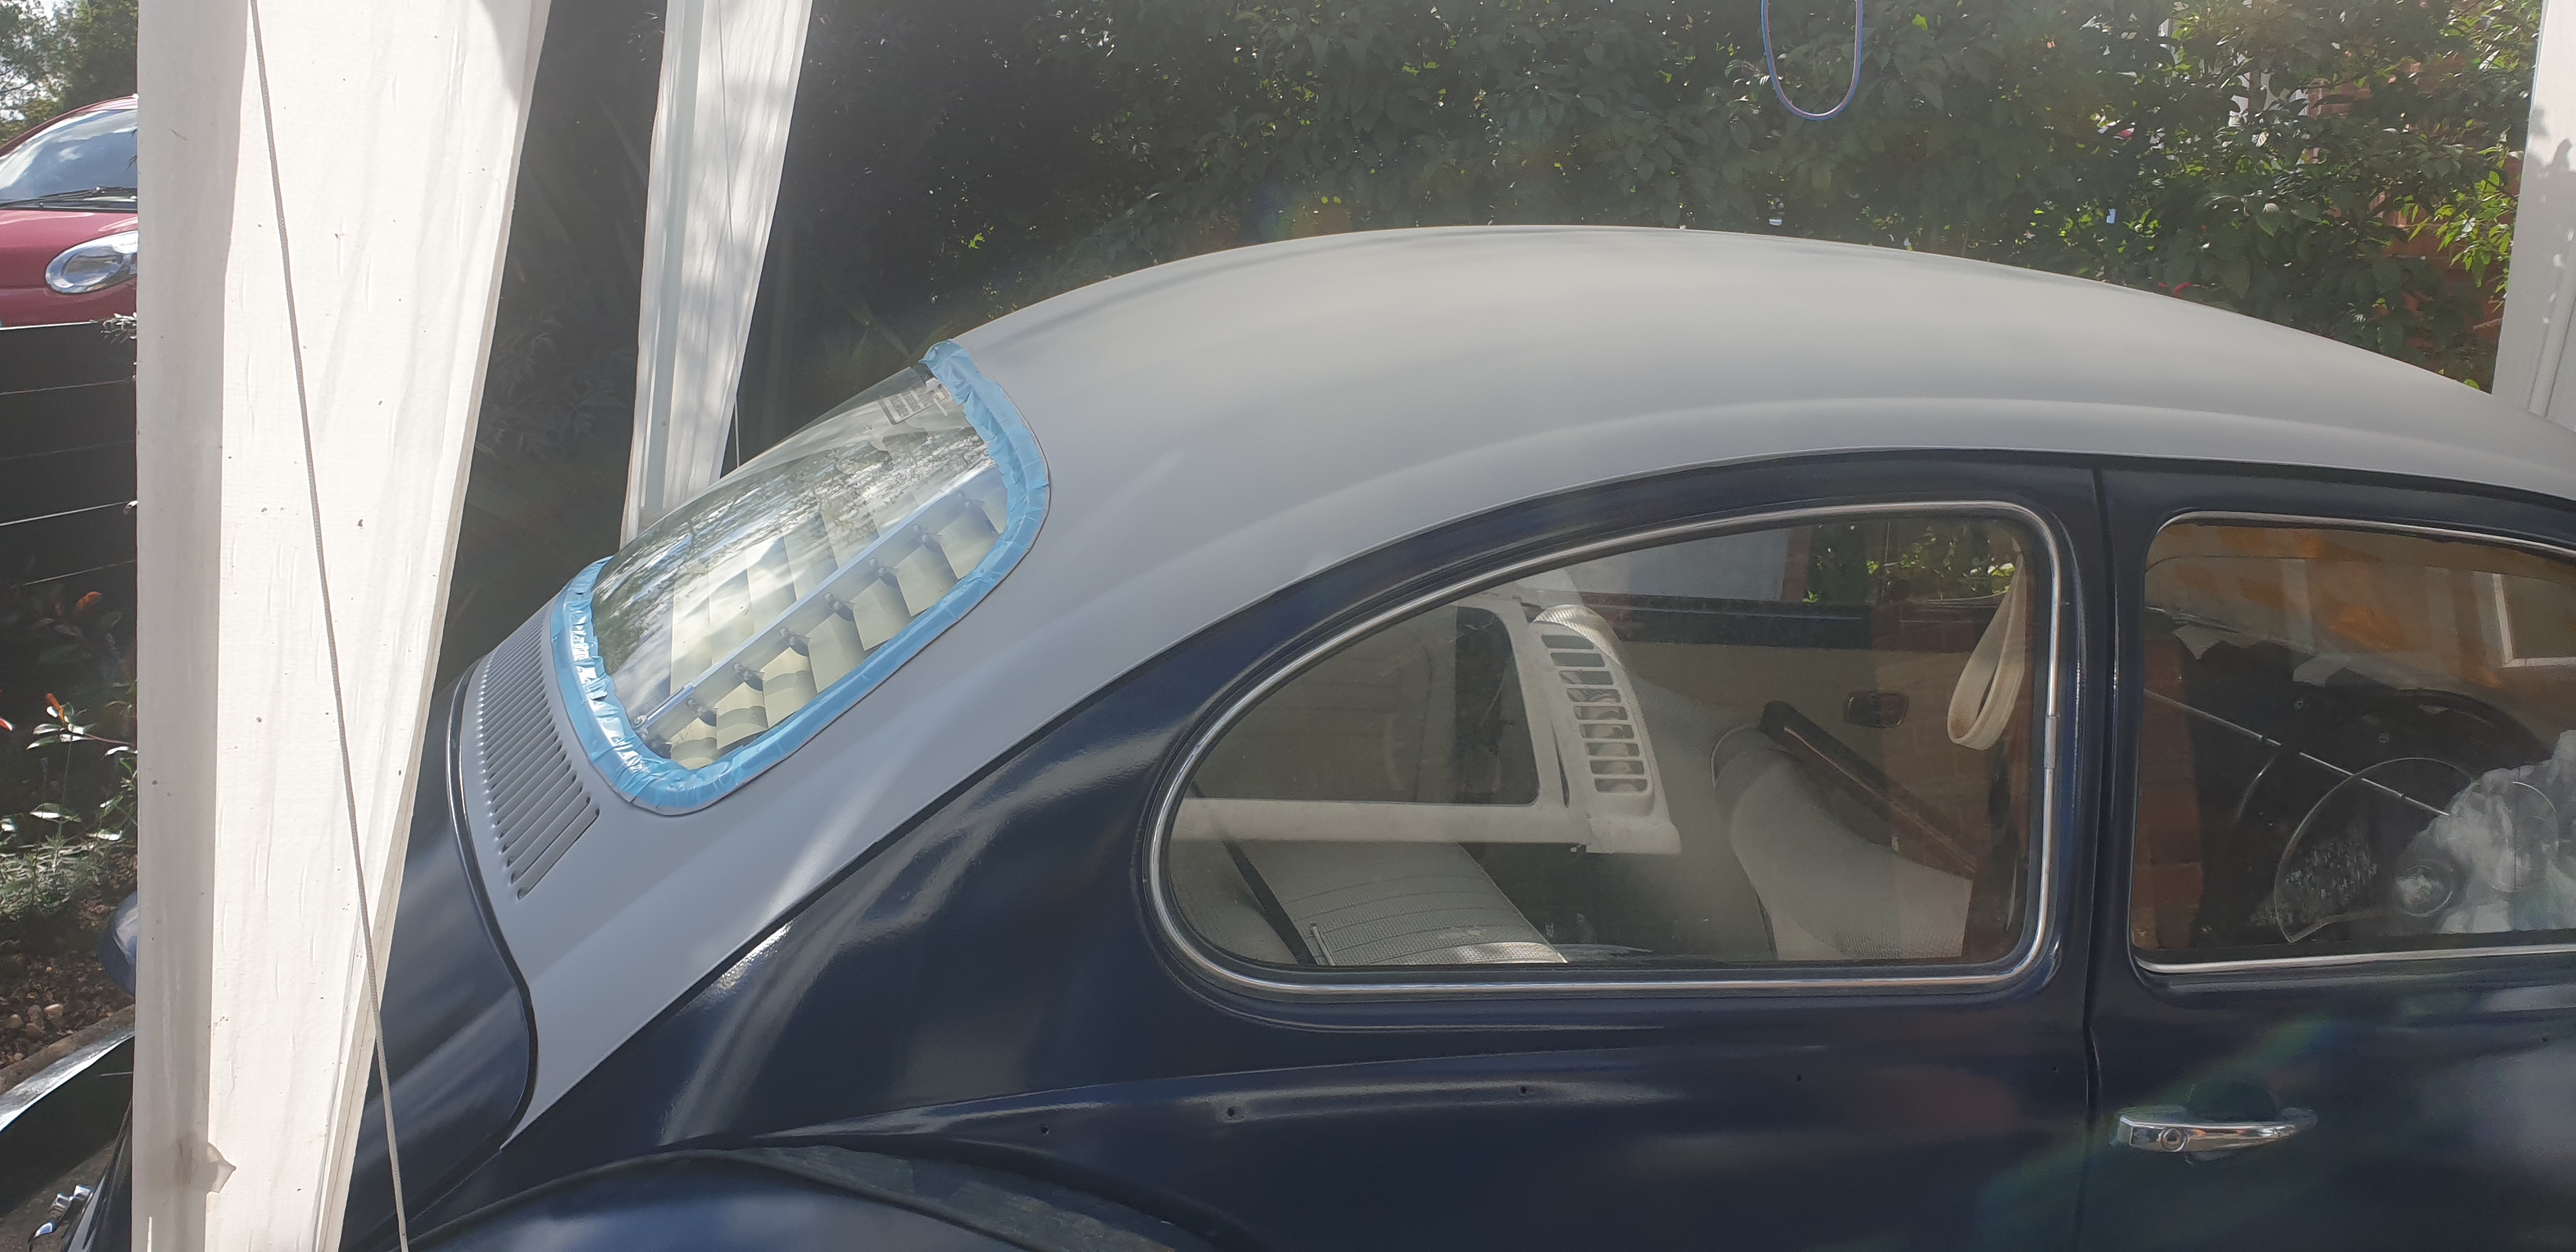
So everything ready for final sand, masking & primer
All masked up in a Wedding dress! Thanks to my beautiful wife for her help in masking!
All primed. Went on well. Just a few stripes on the roof.
Masking removed 24 hrs to dry......
Primer flat sanded, masked and 4 coats of color applied. A few runs at the rear and one in the gutter. Not too bad. Lots of overspray but good color.
Left the paint to dry for a 48 hrs. Then moved onto fitting the new windscreen
Quick tool made for inserting the cord into the seal lip
New Wolfsburg West rubber seal. Hard to get it to stay on window but got there also really hard to install the chrome surround.
Then with the help and assistance of my beautiful wife we started the install. She was on the outside pushing and I was inside pulling the cord. We had a first attempt but the cord & lip did not go over on one corner.
We removed and reset the cord and re lubricated the seal. This time we managed to ensure that the inner seal was sitting right up to the lip. Lots of pushing, grunting, slapping and pulling later....... we did it! The sense of achievement was overwhelming and our poor hands and fingers sore, it was finally in!
Seal in place. Much better and fits wonderfully
Moving on from the joy of the windscreen the only areas of paint left are the front quarters, bonnet seal area and the front valance.
Progress but still work to do...... Only working on it on Saturdays and Sundays in between working progress is sure slow but it's getting there...
Next updates the front quarter panels