Showing posts with label bumpers. Show all posts

Tuesday, 26 May 2020

Front Wings & Bonnet installed

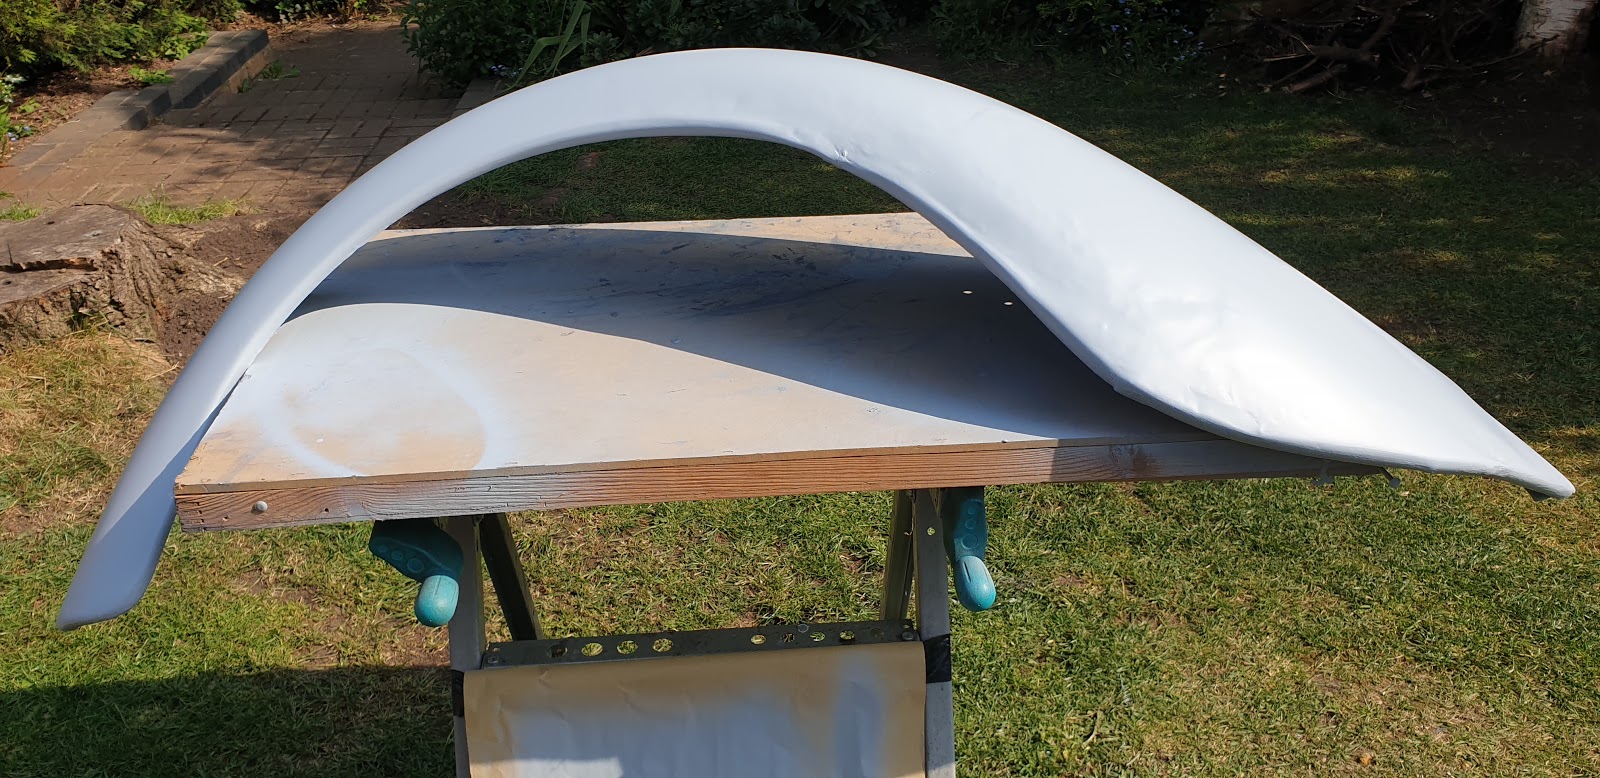
Last post was the painting of the front wings and bonnet.

After a week of drying out it was time to fit the front wings and bonnet.


Progress at last!

The wings were quick to fit. The headlights and indicator electrics were a pain to get wired in and removing all the dodgy crimping the previous owners has cut in.

The bonnet was hard to install single handed but if you rest the bonnet over your head you can just reach the bolts. Alignment was easy and everything went okay.

The new bonnet is not original stock and its not a bad reproduction but the trim and badge holes were not the same.

So took a cardboard template off the old bonnet for the badge position.


Drilled the 3 holes for the badge and an extra hole for the trim. So nice to see his crowning.

Bonnet is still quite textured orange peel on the paint. It still needs a flat sand and polishing compound with G3/6/10 and the buffer but will do the whole car when its ready.

So he is finally looking okay at the front. The front valance and bonnet seal area needs painting but will do that when I paint the front quarters.

What's next - Roof, doors or quarters....... Its been very windy so not much work done. Last week of lockdown holidays and bank holiday now gone. Back to weeknights and weekends....... More updates / progress to follow.


Tuesday, 12 May 2020

Rear End Finished

Been working hard during lock down and enforced holidays.

The beetle body work has 8 phases to completely repaint the whole car!

Phase 1 Rear wings Phase 2 Valance Phase 3 Deck lid have now been stripped, rust converter, filled, sanded, primed, sanded and painted with 2+2 Colour coats.


All primed with epoxy primer

Epoxy primer is really tough and sticks well. Just does not have a very good final finish. Left it to dry for 48 Hours to fully harden.

Then sanded it down with 320 grit. As it's so hard it very hard to sand down flat. Slight textured finish.  I was worried about sanding it down too much as I might cut through the primer and end up with the horrible reaction with the paint underneath.

Next time I might put a coat of the P88 High build primer over the epoxy to get an easy to sand flat finish before top colour coats.


Final 2+2 Top colour coats


So the paint went on well. First two coats mixed paint:thinner of 50:50 and the last 2 coats mixed to 40:60 to give a better flash coat with more solvent thinners.

Happy with the top colour coats shine BUT there is an underlying texture from the epoxy primer.

So moved on after a few days to dry and harden to get stared with the rebuild.


Final Build up completed. 

Once final build up was done only a few snags with grommets for lights and bumper mounting. Everything went together well.

Also pumped in 2.5 litres of gearbox oil as i had changed the swing axle gaiter boots while it was easy to access.

Put the wheels back on and drove up the road.


So finished the rear end! Pleased with the result!


Now to move onto the front end!..........


Thursday, 30 April 2020

Lock down work started due to Covid 19

Covid 19 lock down was enforced on the UK for April and May 2020.

Also imposed was to take all accrued work holidays up to May so I also was on holiday from work!

So double win! Time to get started on Gus's Body work!


Party Tent up, Gus up and Wings on


Gus up and Wings off

So simple to take the wings off. The previous owner had only lightly tightened them on and also used stainless steel bolts. Only snapped one! Which was the running boards to lower wing!

Here are the wings:


Got some industrial strength paint stripper. Not your DIY version the stuff actually stings when on skin! Decided to strip back to bare metal to see rust extent and treat.


Rust was not too bad a few areas and a few larger ones.


Treated for rust then 2 coats of Epoxy Mastic 141 should keep the insides clean


Take back to bare metal and 2 coats of Etch Primer.

Then the weather changed so had to move back inside and start the filler work. One wing (left hand side) has some war scars from hitting something like a gate post. You can just about see the damage in the lower photo. It was not badly filled but as I went back to bare metal i had to knock out the filler!

Its currently being filled and flat sanded down. Then move on to prime and topcoat! More updates soon.......

New DubZen Post

 New Dubzen post: https://dubzen.blogspot.com/