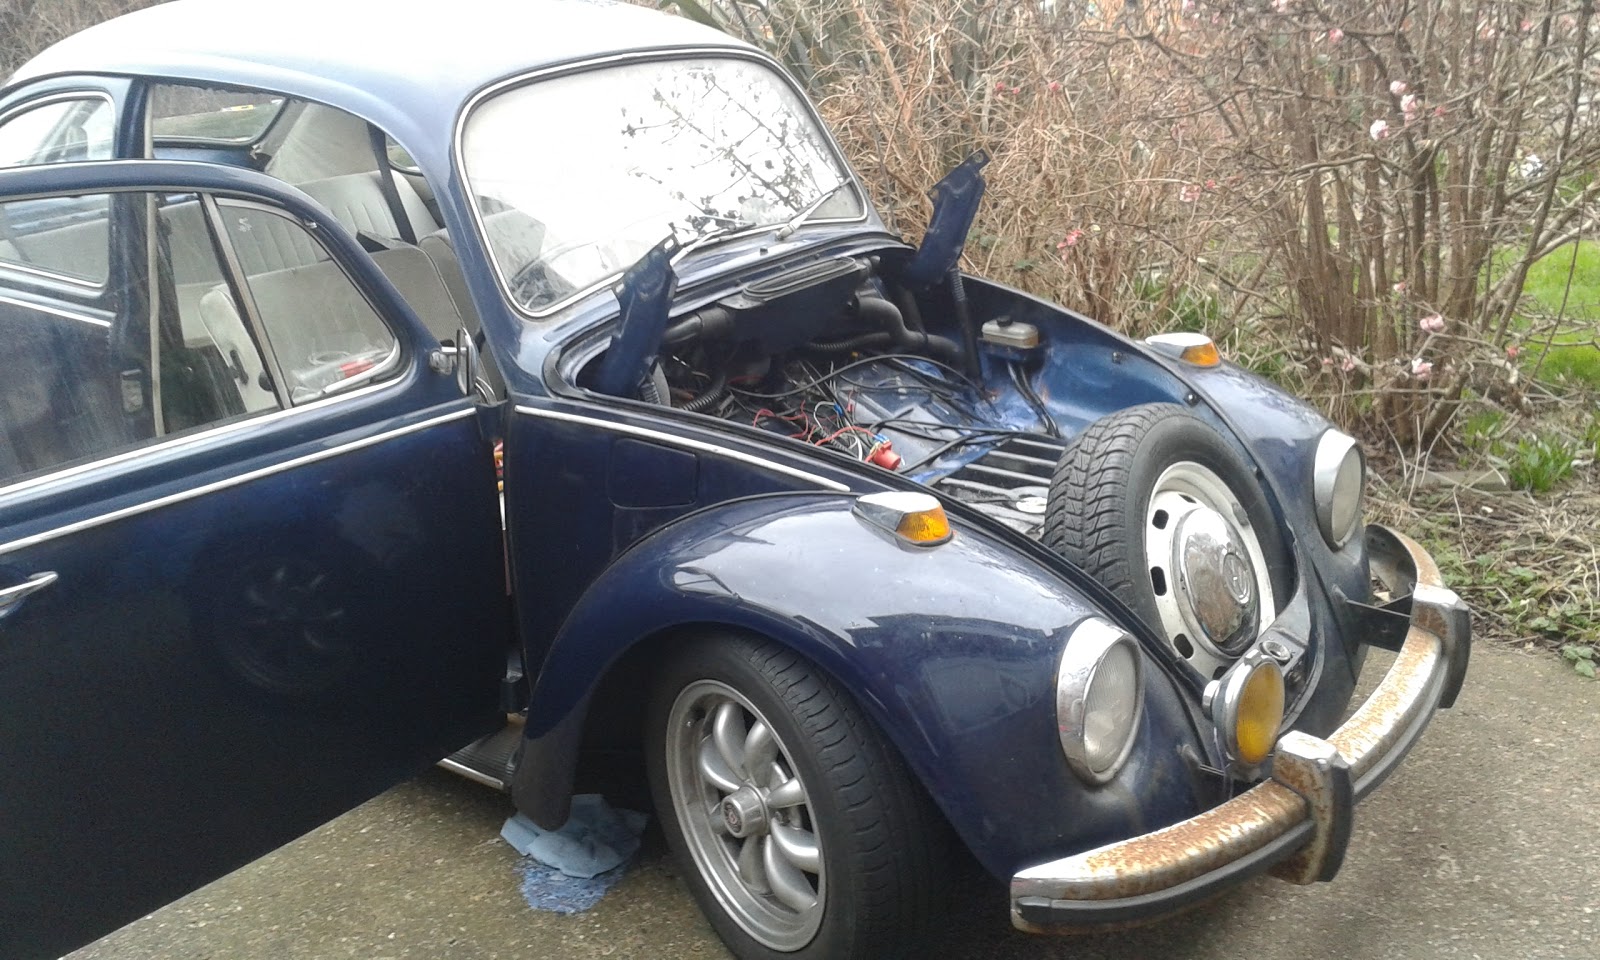
The adventures of Gus and the engine build
Background:
Gus the 1968 beetle has been with us for over 1 year now and he was used for a daily driver since then. The long cold winter has taken its toll on him. Rust body due to the salt and poor spray paint by his previous owners.
After a year of driving he needed some TLC. The engine which he came with had unacceptable level of end float and after daily use it was starting to sound rough and so I thought I would build up a "spare" engine to have in reserve just in case.
The Purchase:
I was on the look out for a cheap engine as I don't have much disposable cash. So after a few weeks looking on e-bay I found something which had no bids and was located locally.
I thought it was worth a punt as worst I can use it as an exchange for a reconditioned engine if required.
For £100 it is a 1300 engine complete except the Pistons & Barrels.

So after a business trip to France I arranged collection.
The Cleanup
I got the engine back and started to clean it up.


Upon initial inspection all looked okay. Some slight end play and years of crust and crud.

Removing the flywheel "ghetto / guerrilla style"

Half way
A few days of wire brushing and plenty of elbow grease the case started to look okay. Not going for spotless but just wanted to get enough off to start the rebuild and be able to see any oil leaks.


Clean Enough
Rebuild Parts Required:
So the engine came with a pair of DP heads. Not in bad condition BUT the usual crack from valve seat to spark plug and general signs of poor condition. So these went in the pile of hoarder spares I have. I will also need enough parts to build up the long block including oil cooler and fuel pump.
I have two rules when it comes to parts.
Rule 1 - Stock Rocks
- Original Stock VW parts either NOS or secondhand are best. The fit and are much better build quality than all the cheap aftermarket parts.
Rule 2 - Bargains
- I hate paying full price and the "scene tax" so always on the look out for cheap. That's why I like e-bay :-)
The shopping list started to grow to build up to long block:
- 1600 DP Cylinder heads
- 1600 Barrels & Pistons
- Doghouse oil cooler
- Doghouse oil cooler adapter
- Pulley wheel
- Breast plate tinware
- Under Barrel tinware
- Rocker covers
- Rocker cover clips
- Gasket kit
- Flywheel oil seal
- Flywheel shims
- Spark plugs
- Push rod tubes
- Fuel pump
- Oil Pressure switch
Managed to get secondhand, original stock parts of the following
1600 DP Cylinder heads
Doghouse oil coolerDoghouse oil cooler adapter
Pulley wheel
Breast plate tinware
Rocker covers
Rocker cover clips
I had to buy these parts.
Under Barrel tinware
Gasket kit
Flywheel oil seal
Flywheel shims
Spark plugs
Push rod tubes
Fuel pump
Oil Pressure switch


Managed to get the barrels & pistons cheap at just £80 new as they were returns as they had a bent fin! Bargain!
The collection of parts started to assemble:

Cylinder head build up:
I had to check and recondition the secondhand cylinder heads.
They where not in bad condition. Checked sellers photos and asked questions. and managed to get a low offer accepted (2 original stock heads for much less than the price of 1 new aftermarket one)
First job was to clean and remove valves


Lovely gold color!
One issue that I found was that one of the heads came with an "old" spark plug. It was really old and why did they remove all the others and leave this in.
Went to remove it and it was completely seized in! Looked like it had been over torqued and also had gone rusty. That's why there cheap. Could have got annoyed or see it as just another engineering challenge.
The worst case I will have to "helicoil". Not ideal but that is the worst case.
Soaked in penetration oil. Then removed carefully. It was tight! but came out with little alloy from the threads.
I thought I would re-tap the threads to ensure that they are all clean and sound.
Found a spark plug re tapping tool.
After the re-tap tested the threads and all went in really well. I think this tool is great as it cleans out and up the threads. Good one to have in the tool kit.
After removal of valves I spent many hours cleaning up and removing years worth of carbon. Then leak checked and reground all valves and seats. Simple leak check of filling each port with solvent and waiting to see if any leaks. A few leaks but all sealed after a good grinding.


A little leak before grinding in valve


Good clean & polish!
Not going for a full port and polish, just a stock engine so clean is enough.


Cleaned and reassembled.
The Build:
All parts are ready and prepped so the build began.
Flywheel & End play first


Shim shim shimey
Then Moved on to Barrels & Pistons


Not forgetting the under tinware!
Note: Now you can see the bent fin. Its not on the sealing area.
Heads on next.


Rocker and Roll

Painted pulley.

Rocker Covers

Fuel pump and oil cooler fitted
Finally completed the build.
Engine Test
Did not want to fit the engine without a good test. Did not want the hassle of putting all fuel and ignition system on to fire it up.
Just wanted to check compression and oil pressure and see for any leaks or issues.
So got my old gearbox and starter motor and hooked up a ad-hoc test bench

Turned engine over and checked compression. Hooked up oil pressure send and checked for oil pressure.
All good compression spot on each cylinder at 120psi on all 4.
Learning:
A little bit of scavenge of original stock parts and bargains can build an engine.
Its just a matter of hard work cleaning, checking and reconditioning to use secondhand parts.
So I added up the bills and the Long block came to £350 and accessory addtional parts (fuel pump, oil cooler etc) cam to £100
So for £450 I have built an engine! Its not the best but better than I could afford and half the price of a "recon" engine
So it was now on to the next phase fitment.